The agave cactus (Agave americana) originated in the Americas, but was transported to the Mediterranean in the 16th century and is now commonplace across the region. I remember these plants from my childhood living in Cyprus, so wanted to create some for my terrain table. I did the usual: trawling through Amazon to try and find suitable plastic plants, but could not find anything. I then started making some out of different materials such as paper, card, plasticard, but none of them really worked out.
This image came from Marc Ryckaert at https://commons.wikimedia.org/w/index.php?curid=7209445 and is a great example of agave cacti.
A recent visit back to Amazon turned up these beauties. At £4.99 (including delivery) for 50 pieces, they are an absolute bargain and really look like agave cacti. My only gripe is that they are plastic and bright green, but that can be rectified on the painting table.
One thing that I learnt when browsing through Amazon recently is that it seems as though Chinese manufacturers or vendors will sell an identical product under different brand names but at wildly different prices. The most striking example that I can find is when searching for "static grass applicator". There are dozens of items for sale, most of which look identical (many use the same photograph to advertise the product) starting from as low as £18, running all the way up to £38!
Anyway, back to the cacti. I made lots of small bases using offcuts of 2mm MDF that came with tree bases from 4Ground. Once you have popped out the tree bases from the rectangular piece of MDF, you are left with the "waste". Very little actually goes into the bin in my wargaming shed - most things can be recycled in some capacity to make something useful for the gaming table.
I used some small (and very sharp and very strong) gardening pruning snips to cut the MDF into some interesting and non-regular shapes. Then I drilled some holes using a 2mm drill bit so that I could poke the stalk of a cactus plant into it.
Before inserting the plants into the base, I roughly coated them in a thin-ish layer of generic polyfilla and immediately dipped them into my Mediterranean basing sand. The example below shows a couple of larger stones stuck into the polyfilla prior to applying the sand.
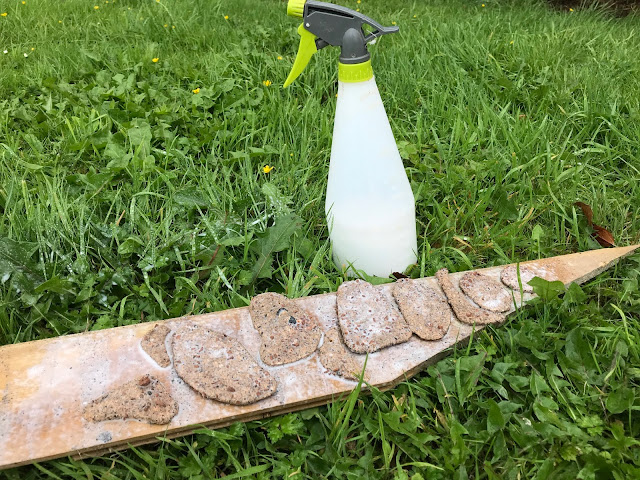
This is what they look like immediately after dipping. The polyfilla does not hold the sand particular well, but allows enough to stick on until it gets sealed with diluted PVA glue, applied using a spray bottle.
Once fully dried, I painted the exposed edges of the bases with a pale terracotta paint, dipped in sand and re-sealed. It is worth the extra effort of spraying a couple of times; they are bullet-proof afterwards and will stand up to a lot of handling on the gaming table. Whilst the bases were drying, I used an old can of Plastic Soldier Company (colour: WW2 Armour) spray paint to prime the bright green plastic plants, then left to dry and got on with some other jobs.
After the base coat of spray paint had dried, I painted on some Wall Green base paint from 4Ground (I don't think they sell it anymore, so any pale, mint green coloured paint from a DIY shop should suffice) onto the plants. I dry-brushed a highlight of Vallejo Dark Sand onto some of the leaves so that they weren't a uniform colour. They look darker than they actually are in this photo.
The plants were then pushed into the pre-drilled holes in one of the bases with a tiny bit of superglue applied to the hole. I have pushed these three plants through by different amounts to create some shorter and some taller cacti, then snipped off the excess using side cutters so that they are flush with the bottom of the MDF base.
I think that I will probably apply a little bit of additional flock and clump material just to finish off the base, but I think that these have turned out OK.


Well thought out giving a very realistic result. Cheers Greg
ReplyDelete