Here are some notes and photos from my game of Iron Cross against Russell this weekend, which was set in North Africa. We played the Capture scenario, so Russell was defending with 327 points of 4th Indian Division versus my 544 points of Deutsche Afrika Korps. All of Russell's forces were dug-in and hidden at the start of the game, so I had to advance my DAK blindly onto the gaming table. However, I had a reasonable idea of where they were located because the objective was for my to capture the village, which was completely surrounded by barbed wire.
In turn 1, I moved four trucks containing 8 infantry squads and the HQ unit (in a car) forward, split equally onto the two flanks. I also quickly advanced two Panzer IIs and one Panzer III along the central road to try and encourage Russell to reveal his forces by shooting at me.

This had the desired effect as one of his four infantry squads, one Matilda and the 6-pounder were revealed. We exchanged fire back and forth, but with Russell having plenty of command tokens to spend on just a few units, he was able to keep reactivating the same units. Fortunately for me, his shooting dice were terrible with my Panzer III being hit perhaps 5 or 6 times in the first few turns, but without being destroyed. Thankfully, when the accumulated morale got close to 5, I managed to spend a few command tokens to recover.

On my right flank, I rushed one of the trucks up to the wire and disembarked one of the infantry squads, who promptly got stuck on the wire.

On my left flank, two trucks (with 4 infantry units) and the command unit drove ahead at full speed, with the intention of cutting through the wire at a different point. As with most best-laid plans in Iron Cross, events disrupted my plan due to me having to spend lots of command tokens to sustain the morale of the Panzer III in the centre.

In the centre, the two Panzer IIs and the Panzer III were trading shots with the Sikh infantry, who were equipped with a Boys anti-tank rifle.
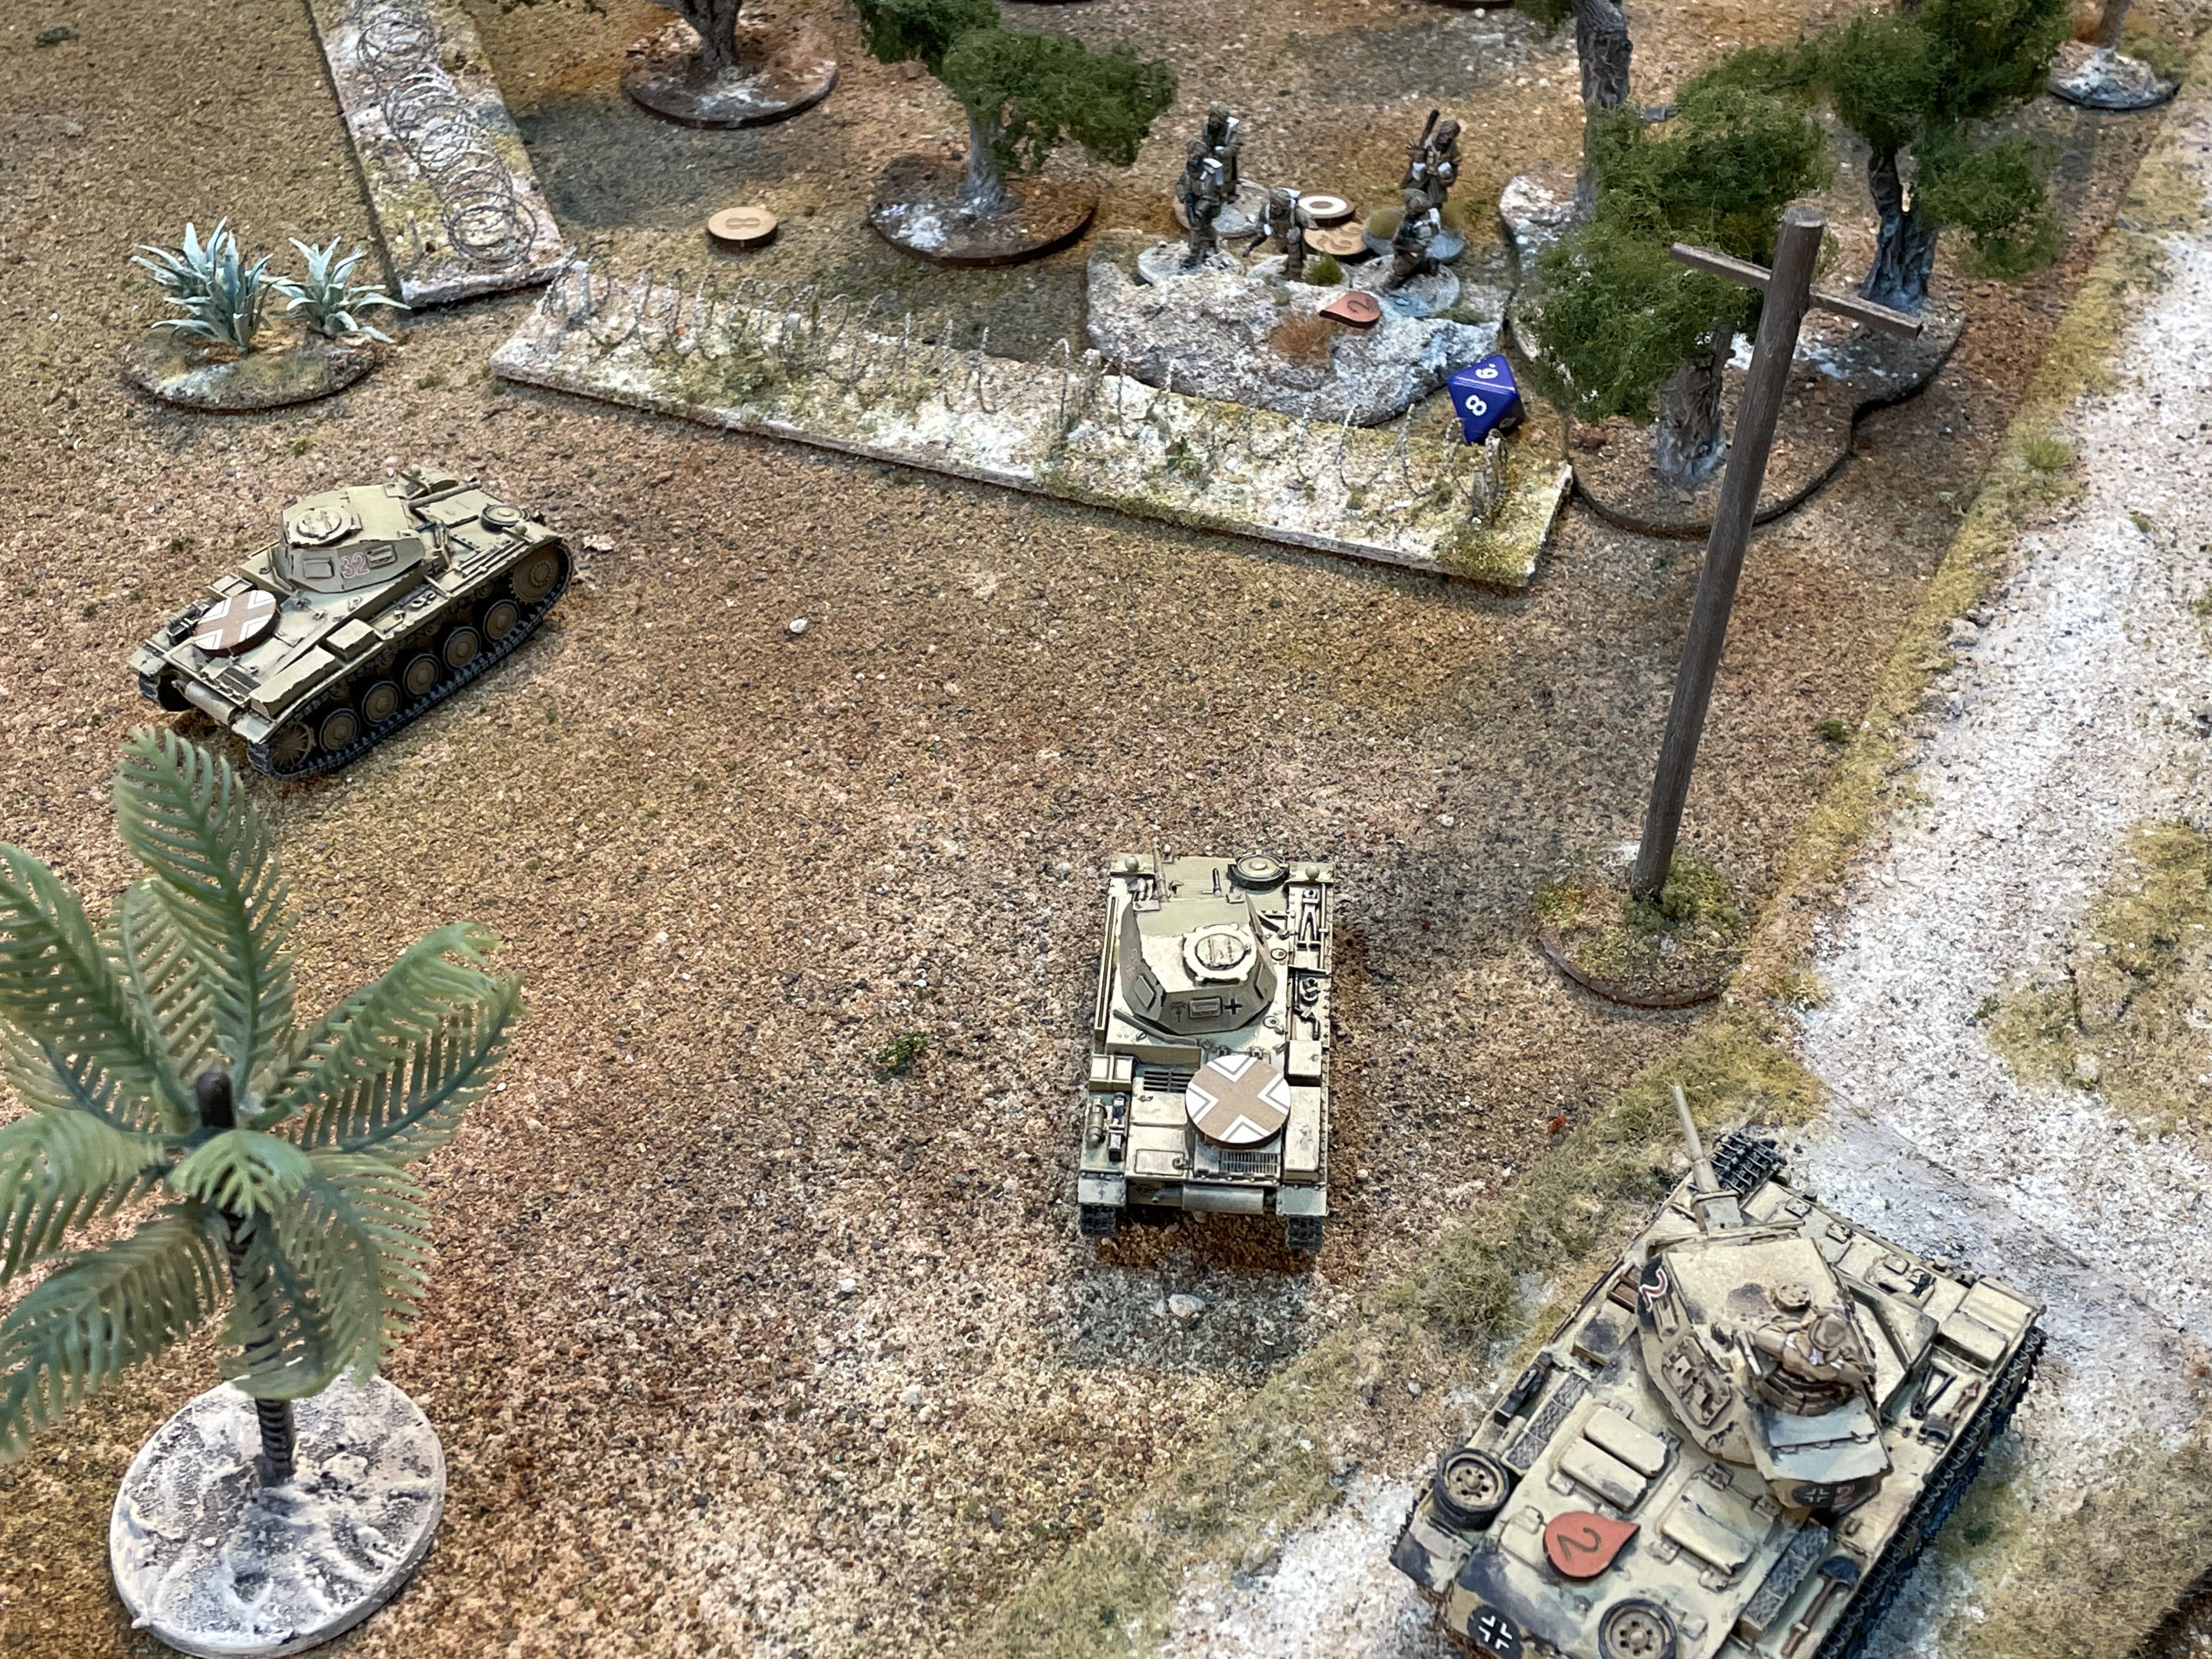
Despite suffering from the worst dice rolling, Russell managed the first kill of the game. His Boys rifle-equipped infantry in the sangar managed to destroy one of the Panzer IIs.

Second casualty of the game (in turn 3, I think) was also scored by the Sikhs: the Panzer III finally succumbed to a devastating hit from the 6-pounder. My infantry on the right flank had been engaged by a couple of units of Russell's infantry by this time, so could not put enough suppressing fire onto the 6-pounder until it was too late for the poor PIII.

At this point, having lost a couple of tanks in exchange for no return casualties, I decided to push forward with my infantry a bit more aggressively, under covering fire from my heavy machine gun which was situated on a small hill to the rear. Unfortunately, Russell decided to reveal the position of his own HMG, which ripped into my infantry crossing the open ground, this stalling the advance.
We were playing an update to the rules, which Stu from GEG and I have been trying out over the last few games. When a unit accumulates more than half its morale value, then it can no longer move towards the enemy. We have found this to be really effective in simulating the effects of defensive fire, especially machine guns in fixed positions, so I think it works really well at stopping advancing troops.

Over the course of the first four turns of the game, I had slowly (poor dice rolling!) been bringing on my reserves, all of which were Panzers (4 more Panzer IIIs and 2 x Panzer IVs). These were starting to enter the fray in turn 4, but slightly too late to provide covering fire for the truck on the left flank that had reached the wire, which was destroyed by some superb shooting from an Indian Pattern Carrier.

I did manage to breach the wire with the first infantry unit out of the truck, who started to put some fire down onto one of the demoralised Sikh infantry units, who were now cowering in the vineyard.


Additional fire support provided by the command squad and a pair of Panzers. Because he was defending a small area, Russell was able to easily move his forces around behind the wire to the points that were under most stress without having to spend lots of command tokens...a tactic that I might have to borrow in the future. He also had the benefit of lots of concealing cover to move injured units behind to rally without any interference from the numerous DAK units.

Meanwhile on the DAK right flank, the infantry were battling forward inch by inch and finally causing some casualties.

Most of my command tokens were consumed by the battle at the edge of the village, which became an attritional war. Unfortunately for me as the attacker, I needed to have pushed forward more aggressively at the start of the game because as my attack got bogged down, I started losing too many units and eventually lost the game based on reaching my company break point.

A view from the Indian side of the battlefield below, better shows the positioning of the IPCs, which provided excellent fire support for the infantry and caused the attacking DAK to slow down too much.

It was a really enjoyable game and, despite the collapse of the Germans in the last couple of turns, it could have gone either way at several points during the game, which is one of my favourite things about wargaming (and especially Iron Cross).
We've all played those games where whoever has the most dice wins, or games that start with moving forward, a bit of shooting, then the inevitable close combat phase. Yawn! Give me Iron Cross with lots of decision making, fog of war and uncertainty, any day.

Great pictures and AAR. As an attacker in war games I have always found getting the right 'pace' to my advance difficult; too slow and you run out of time or lose the advantage, too fast and you end up with the vanguard unsupported and/or your force strung out.
ReplyDeleteA good point! I clearly got it wrong, though Russell's strategy of concentrating his forces into a small area meant that he could easily redeploy them to plug whatever gap in the perimeter I managed to create. It's not how I would have defended the village, but obviously a successful strategy.
Delete